How to Provide Liquidity and Sell USDC
This guide will walk you through the process of providing liquidity on ZKP2P.
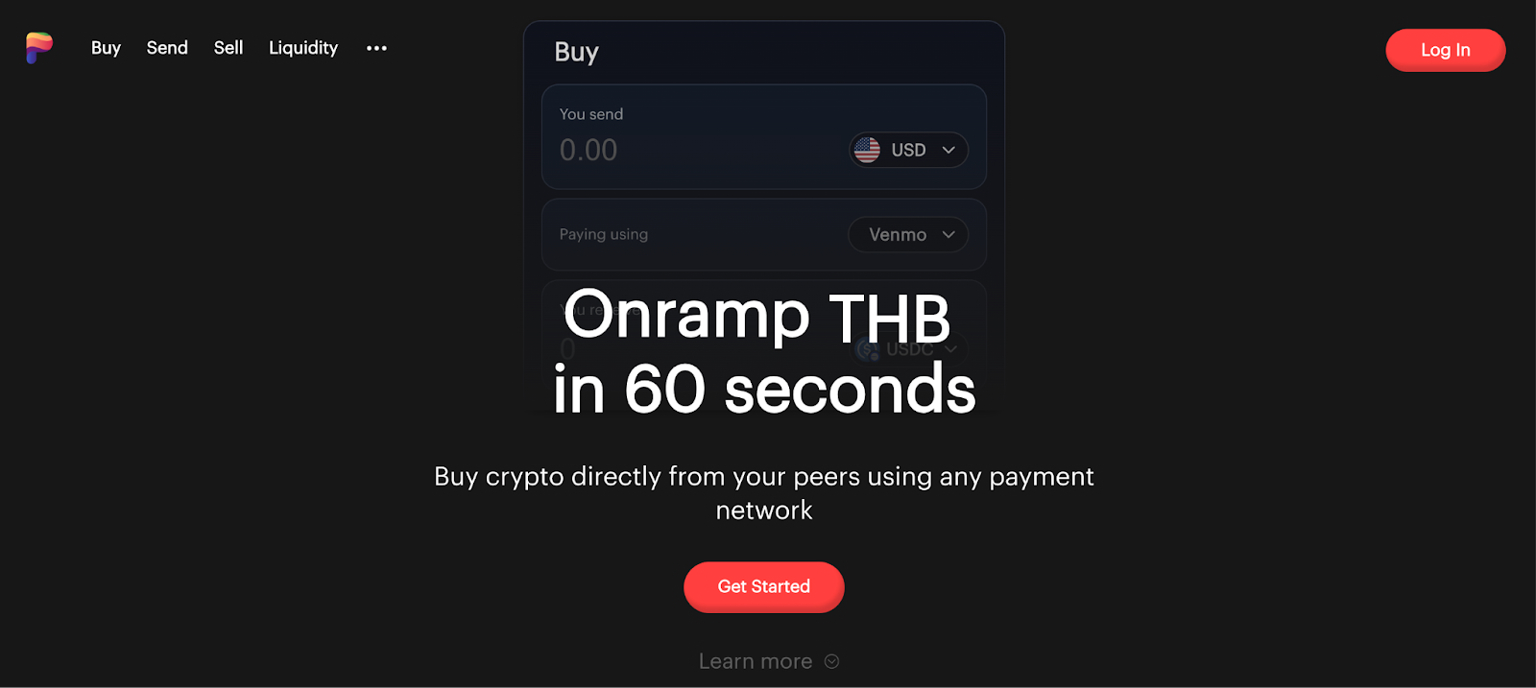
Step 1: Navigate to ZKP2P
Visit https://zkp2p.xyz in your browser.
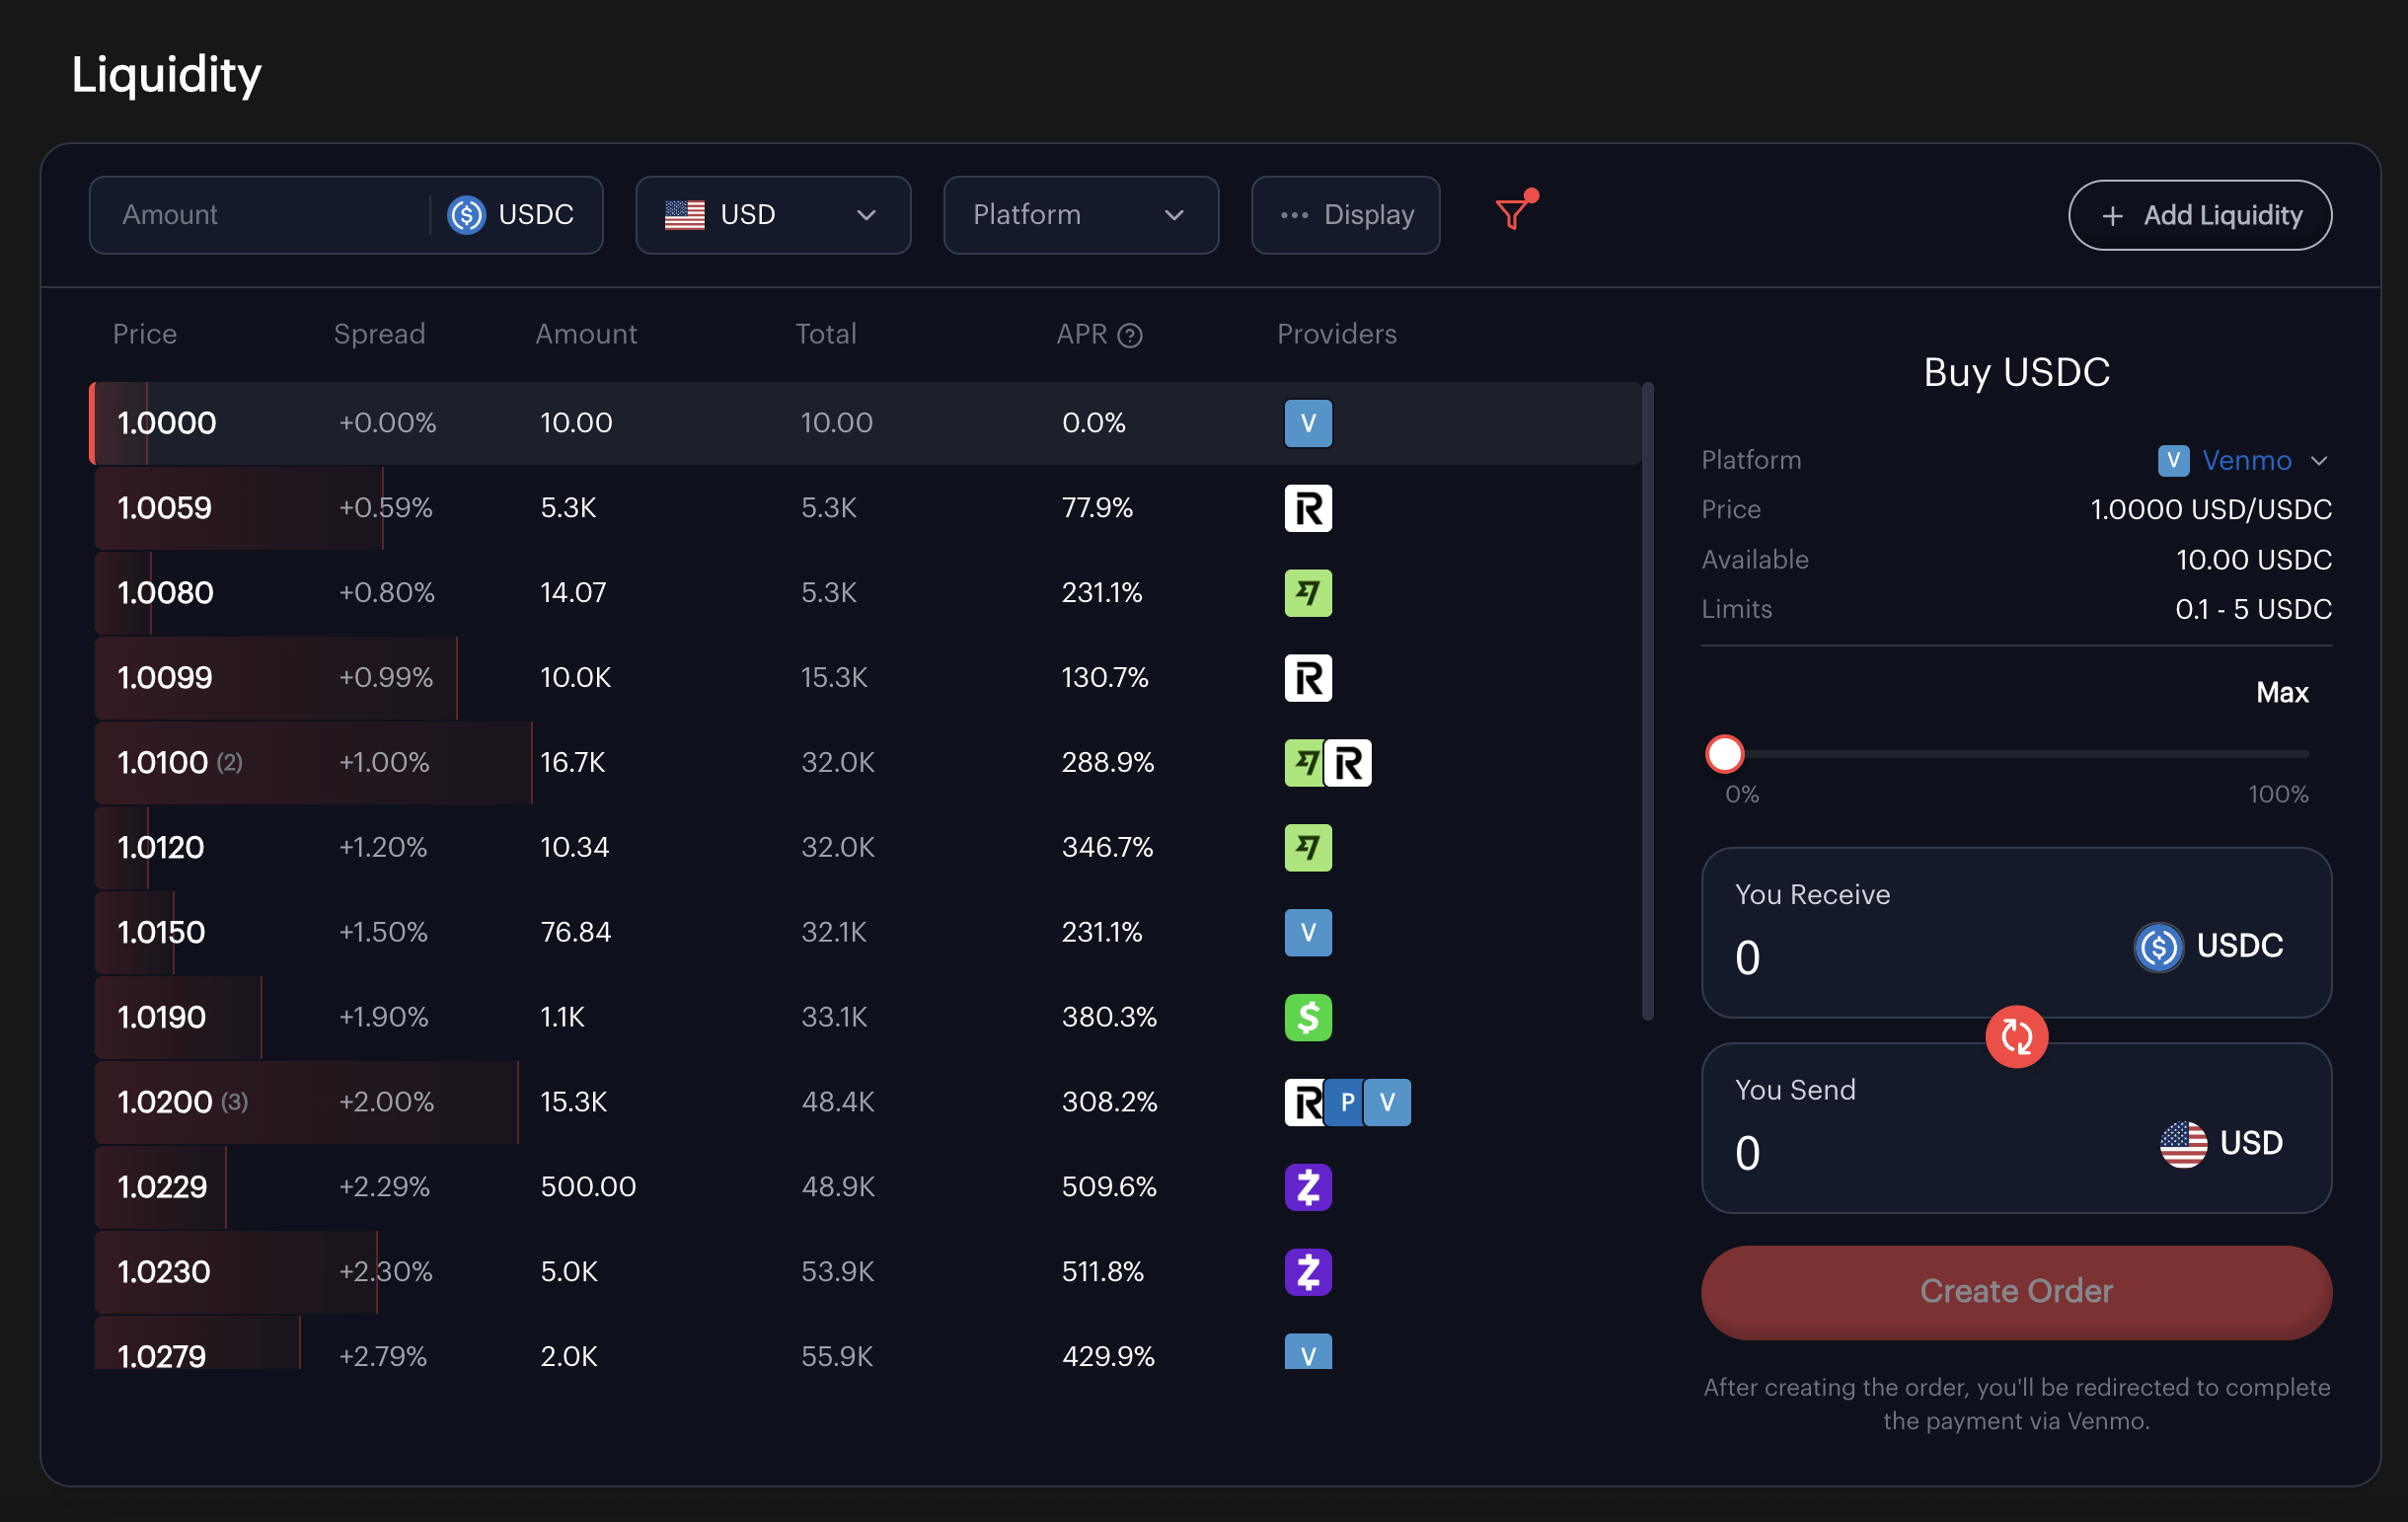
Step 2: Check Current Market Rates
- Click on the Liquidity tab in the main navigation bar
- Review current spreads and rates for the currencies you're interested in
- Pay attention to available liquidity and limits for each option
Step 3: Add Liquidity
- Click the add liquidity button on the top right hand side of the Order Book
You can also click the Sell button on the toolbar

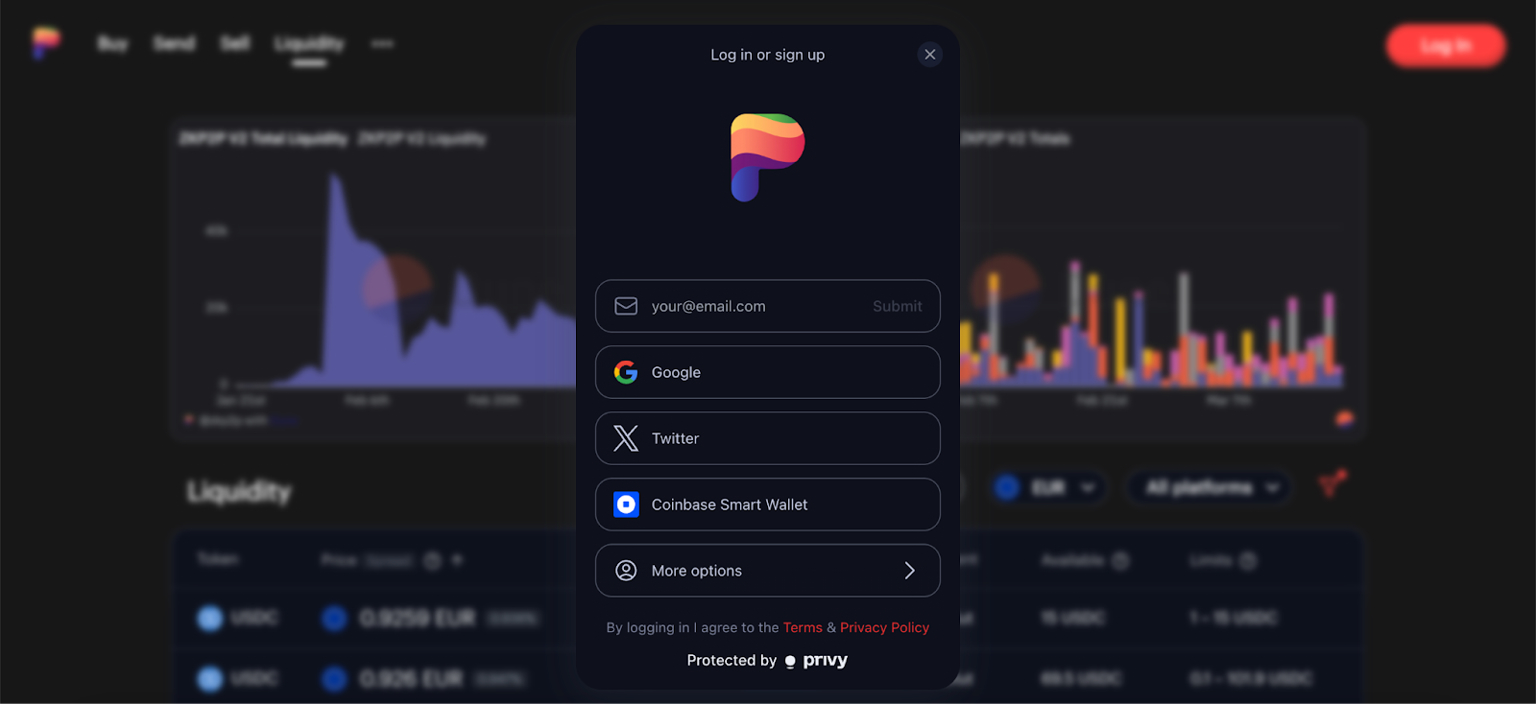
Step 4: Connect
- The platform will prompt you to connect your wallet
- Select your preferred wallet (Rabby, MetaMask, etc.) or log in via email, Twitter, or Google
- Approve the connection request in your wallet
Step 5: Fund Account with USDC on Base
- Ensure you have sufficient USDC tokens on the Base Network by checking in the top right hand corner.

- If you dont have enough USDC, check out the guide to depositing from any chain here!
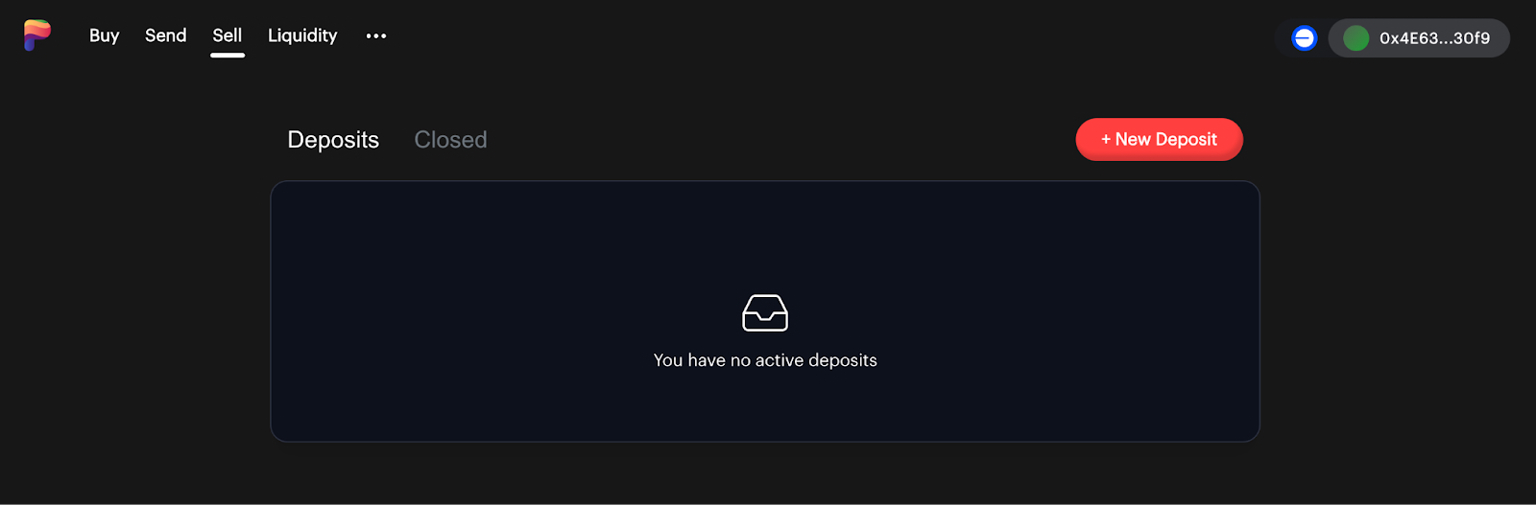
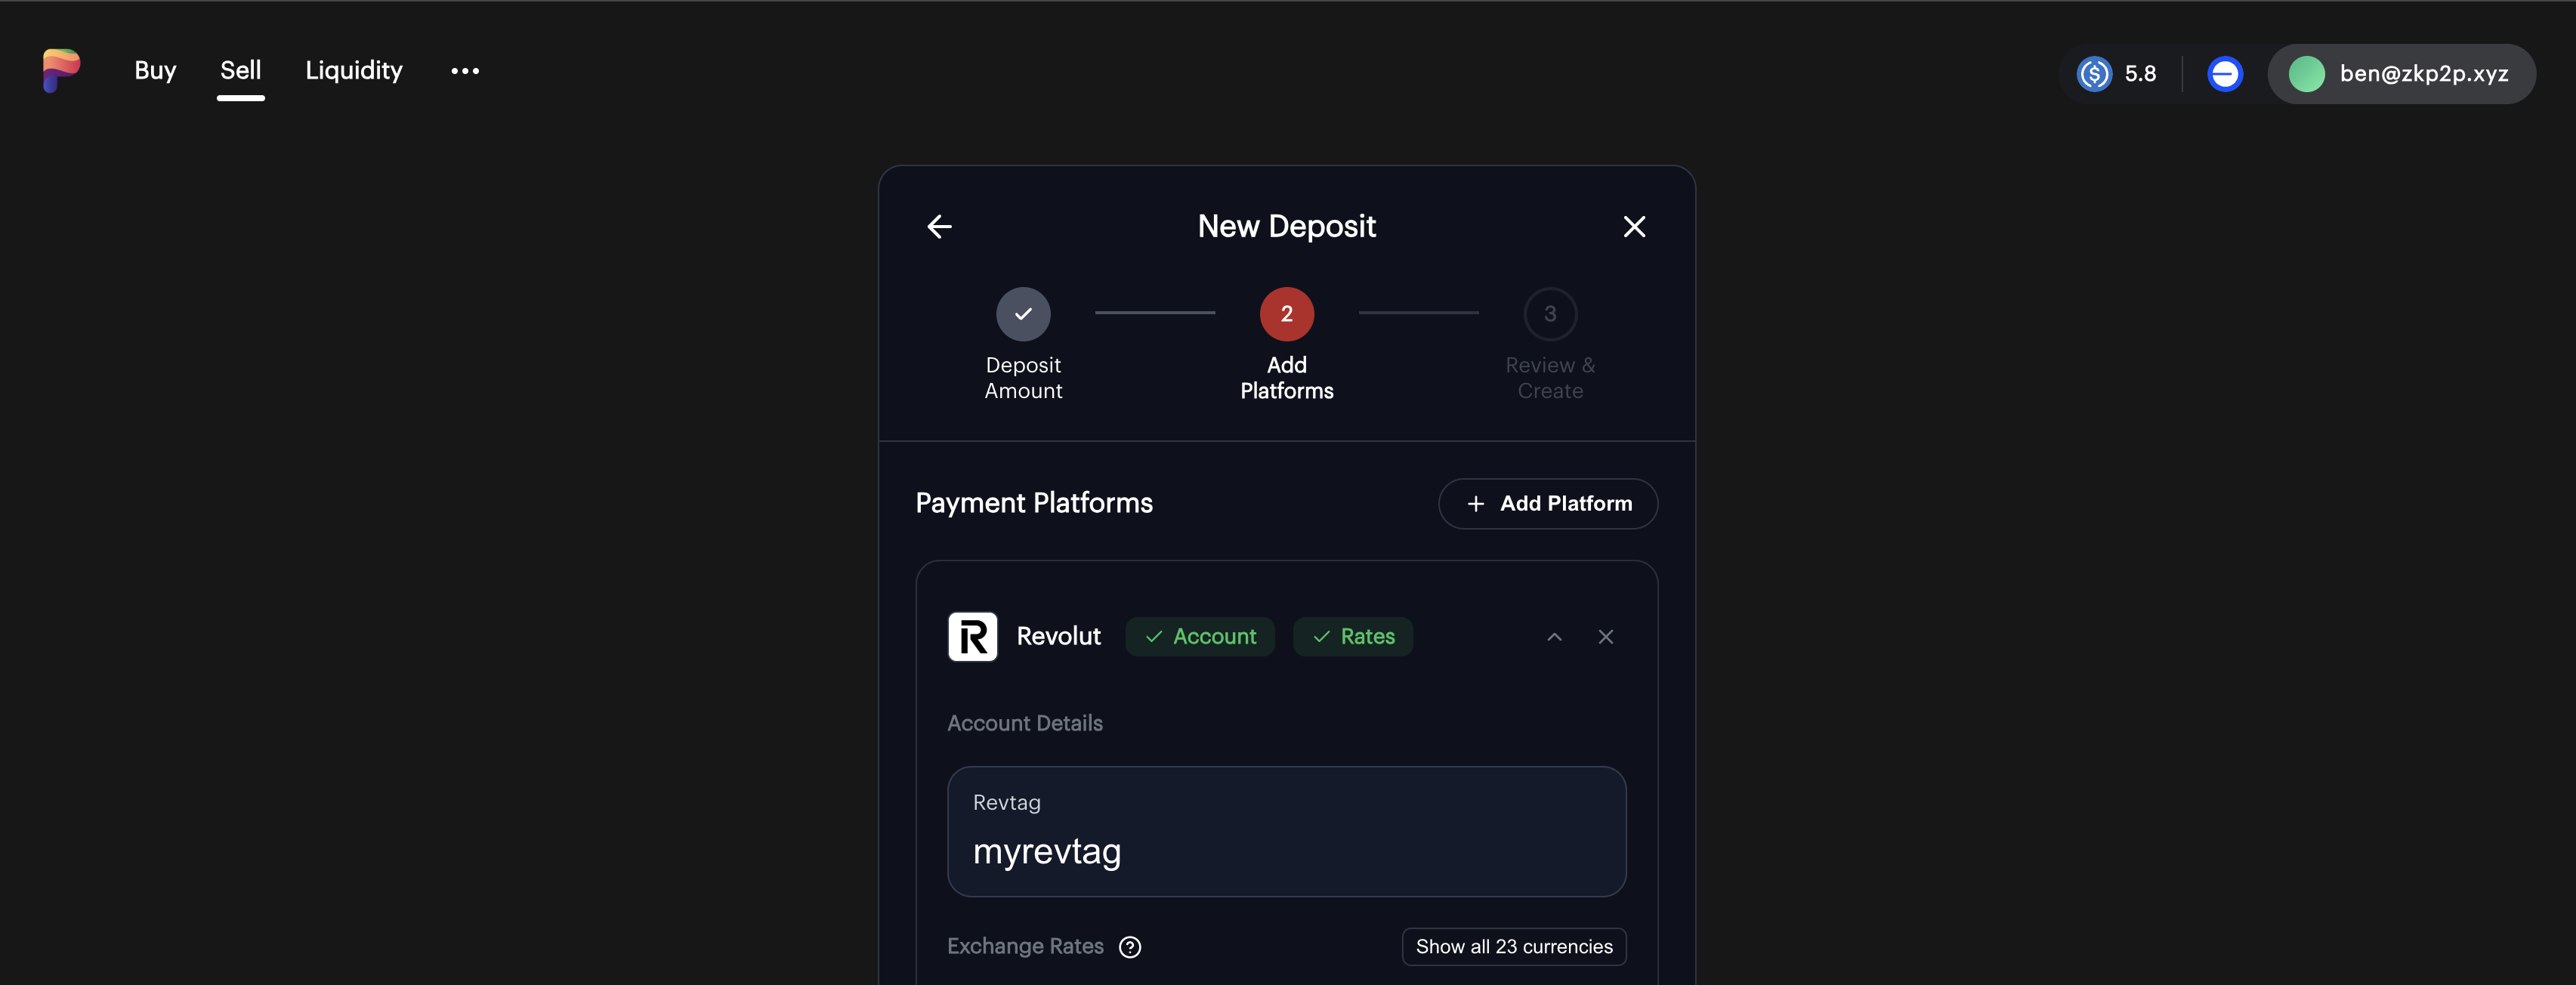
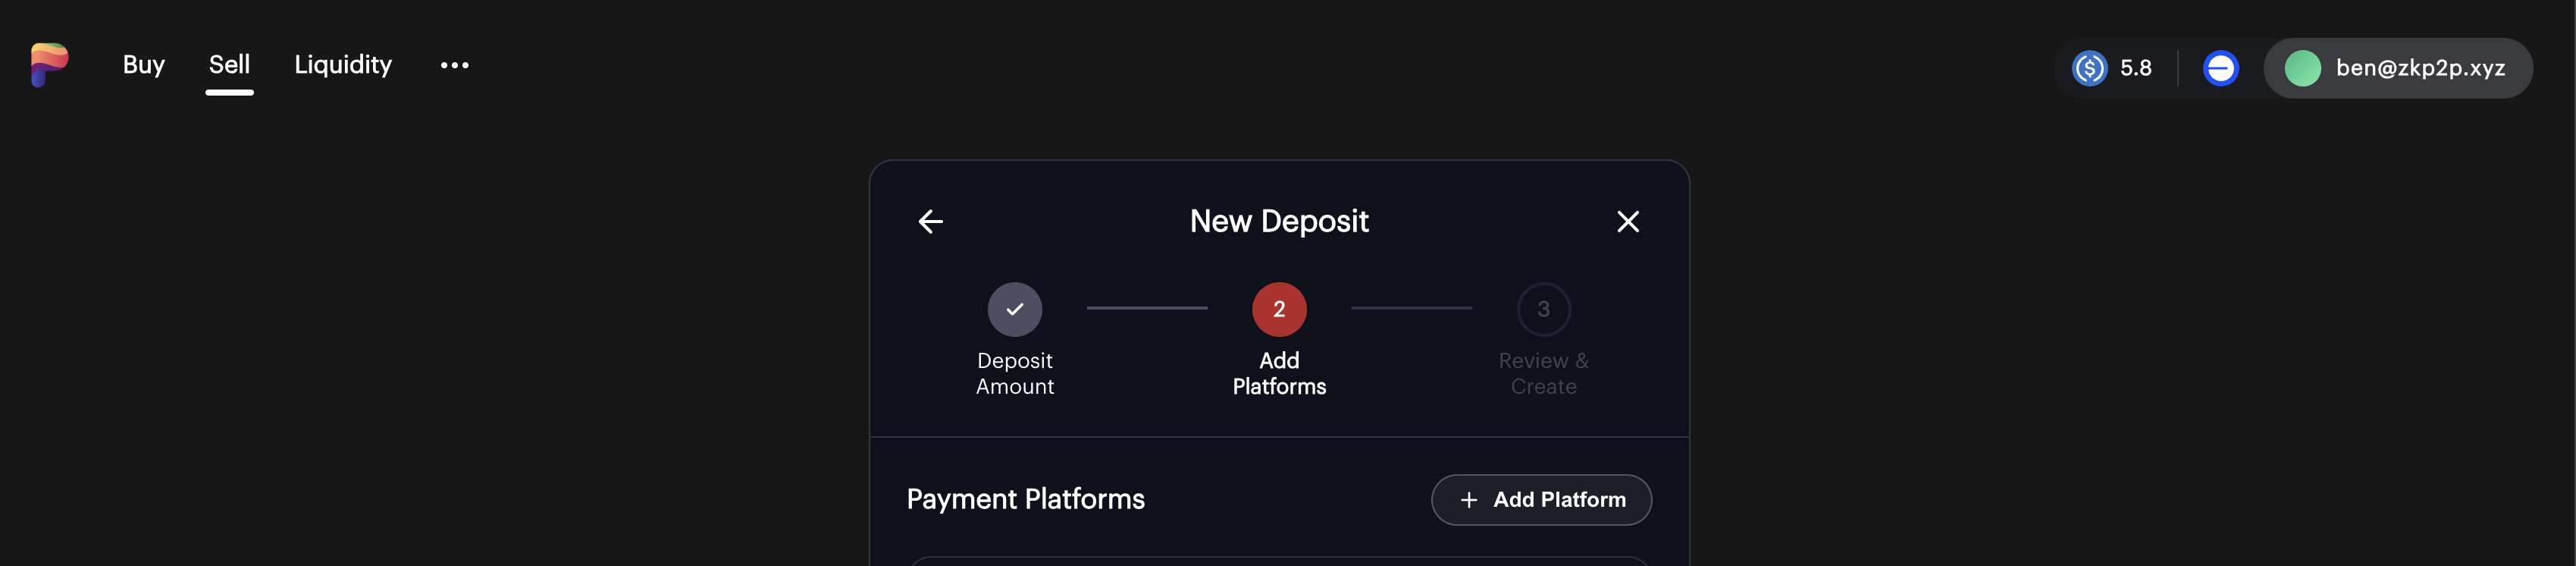
Step 6: Create New Deposit
- Click the New Deposit button
Step 7: Deposit USDC to Sell
- Click Max to deposit your full USDC balance or type a custom amount
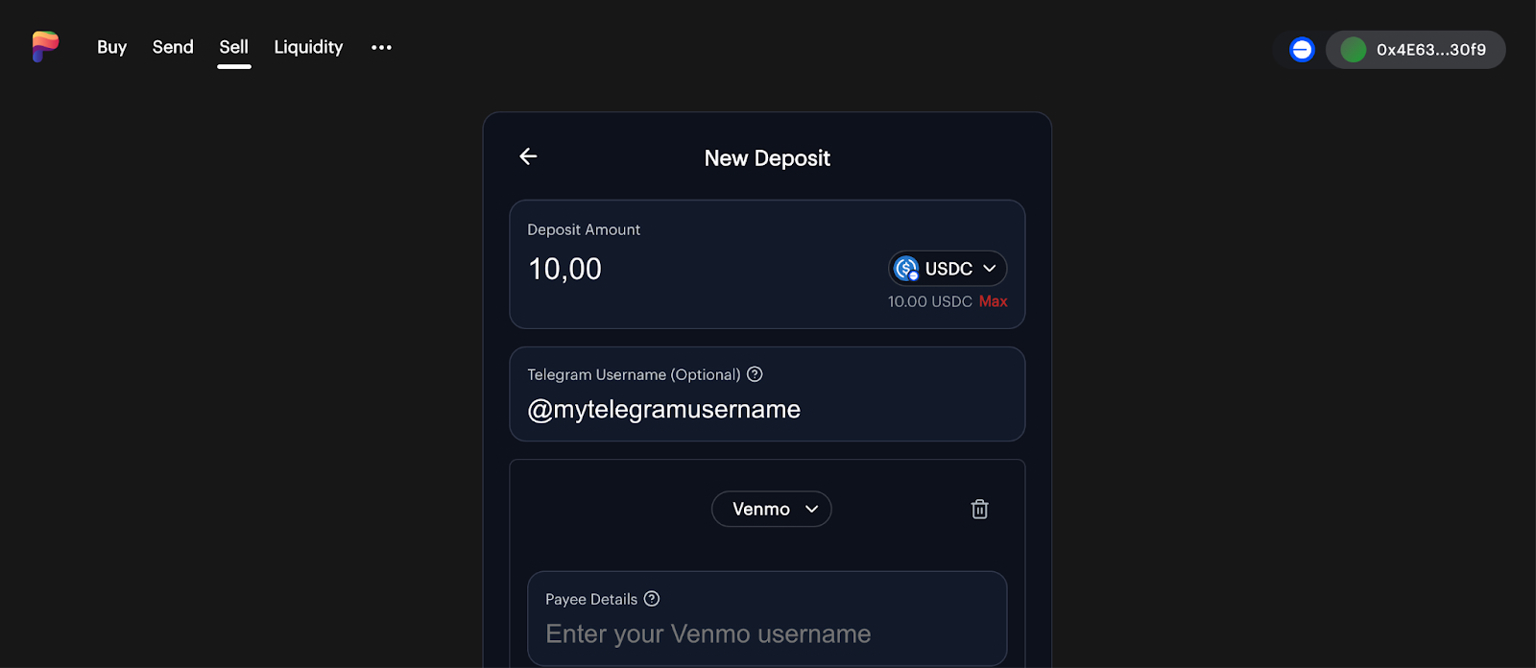
Step 8: Add Telegram Username (Optional)
- Enter your Telegram username so buyers can contact you if any issues arise
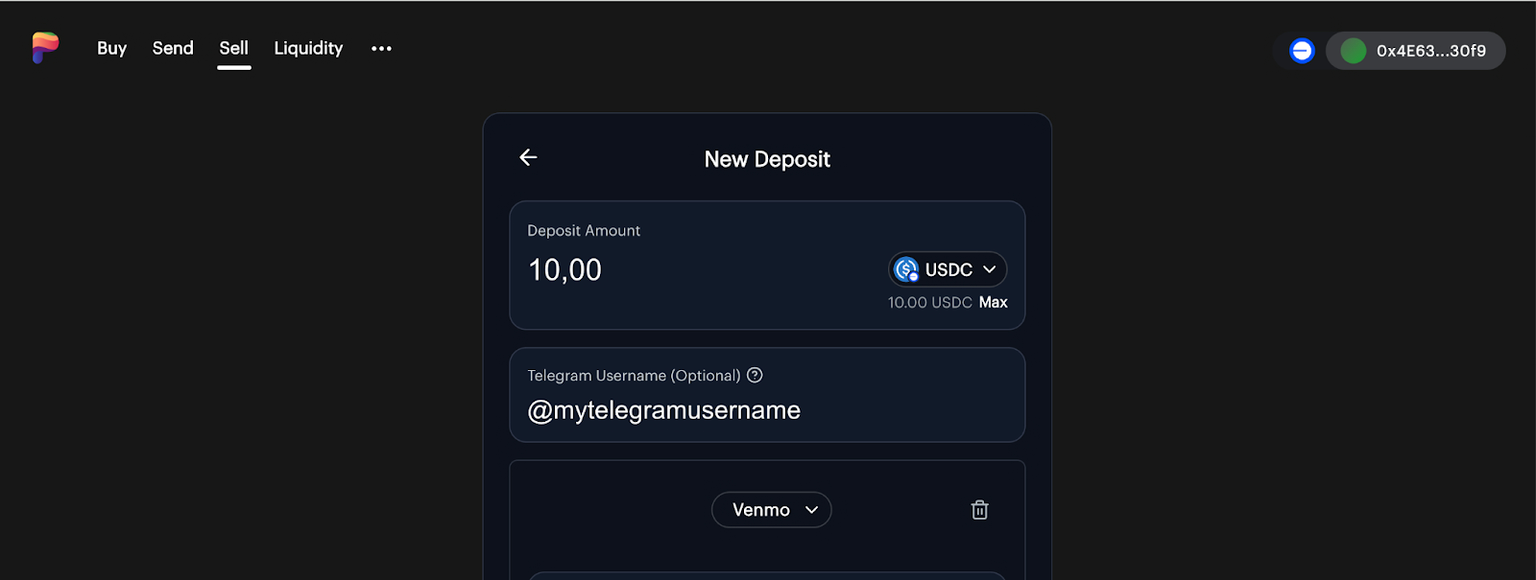
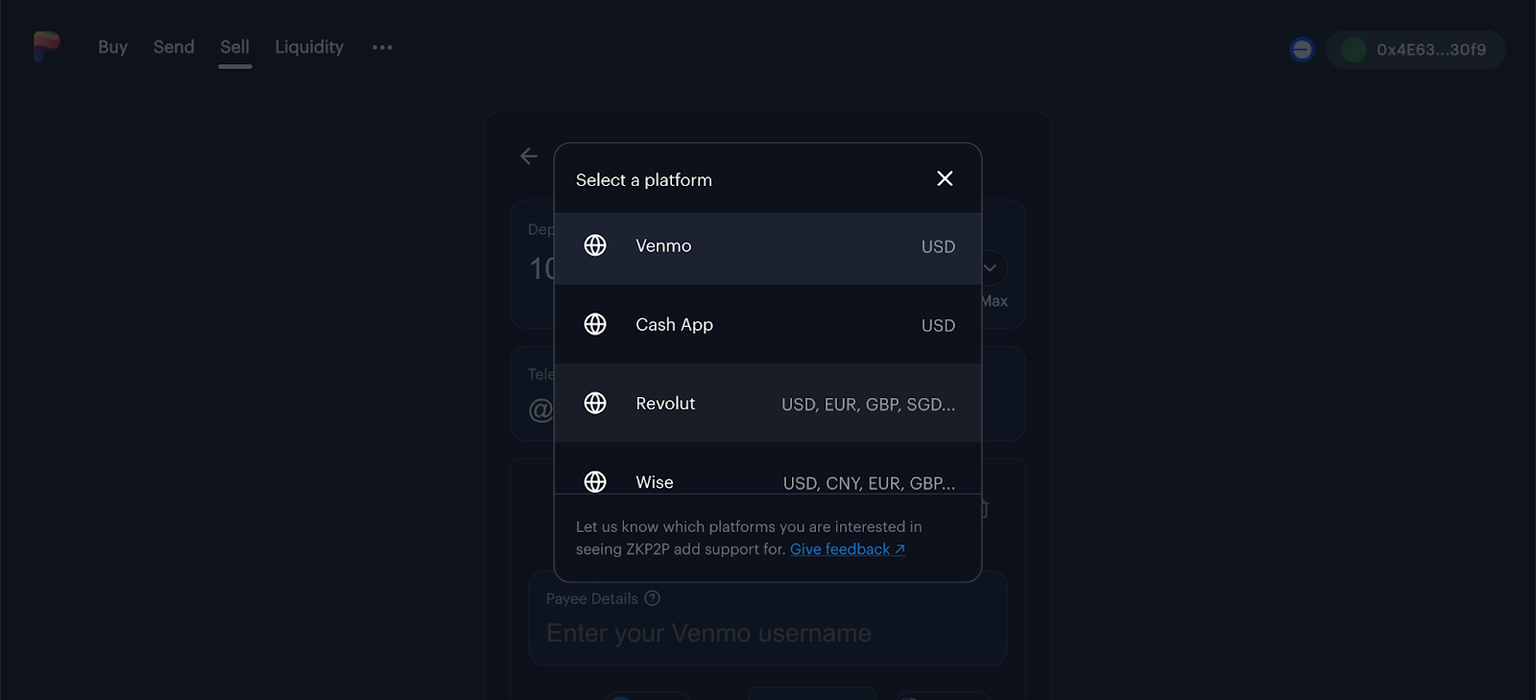
Step 9: Select Primary Payment Platform
Choose your preferred platform from the dropdown:
- Venmo (USD Only)
- Cash App (USD Only)
- Zelle (USD Only)
- Revolut (Multi Currency)
- Wise (Multi Currency)
- Mercado Pago (ARS Only)
- PayPal (Multi Currency)
- Monzo (GBP Only)
Step 10: Enter Payee Details
Enter your username/account details for the selected platform:
- Venmo Username
- Cash App Cashtag
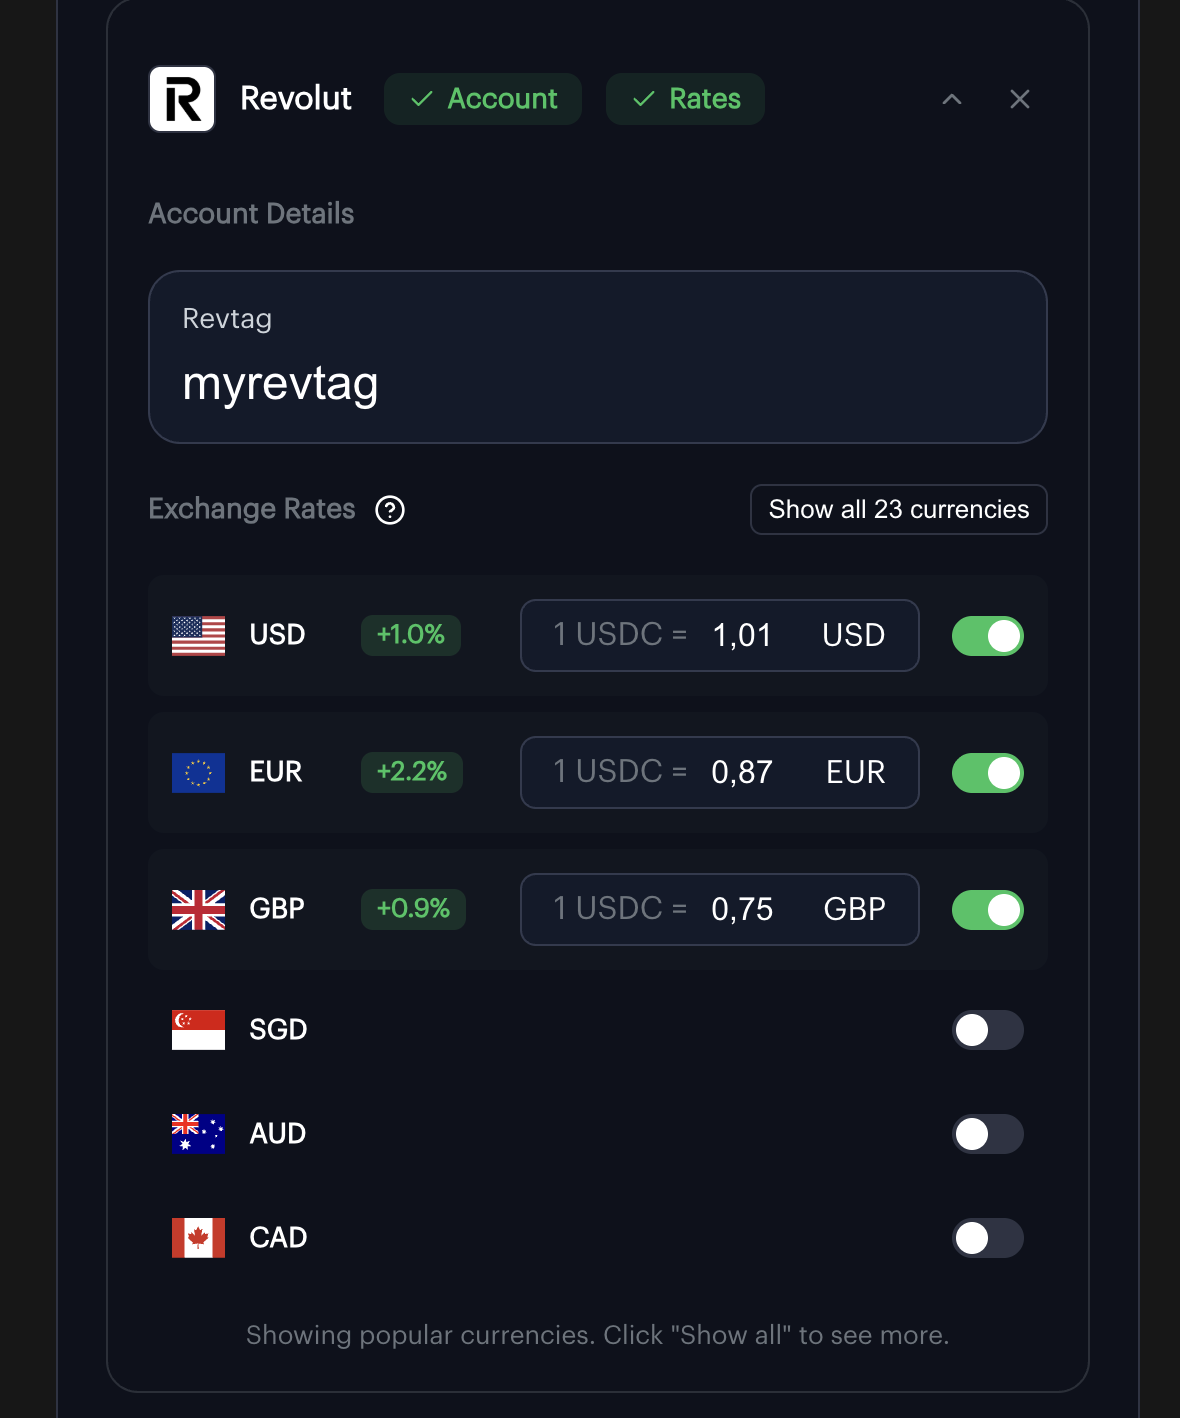
- Revolut Revtag
- Wise Wisetag
- Mercado Pago CVU
🔍 Double-check accuracy — these details are how buyers send you money.
Step 11: Set Exchange Rates
- Enter how much you want to sell your USDC for in each currency
- Adjust based on what you observed in Step 2
- You can see your percentage spread in the middle column
- Green is above market rate, Grey is close to market rate, and Red is below market rate.
💡 Consider:
- Market demand
- Competitive rates
- Desired profit margin
View the guide on optimal currency conversion rates for more tips.
Step 12: Add Secondary Payment Platform (Optional)
- Click Add Payment in the top right hand corner, if you want to accept multiple payment methods
- Repeat Steps 9–11 for the new platform
Step 13: Configure Order Limits (Optional)
- Click Order Limits to expand options
- Set minimum and maximum order sizes (e.g. 5 USDC → max: your total deposit)
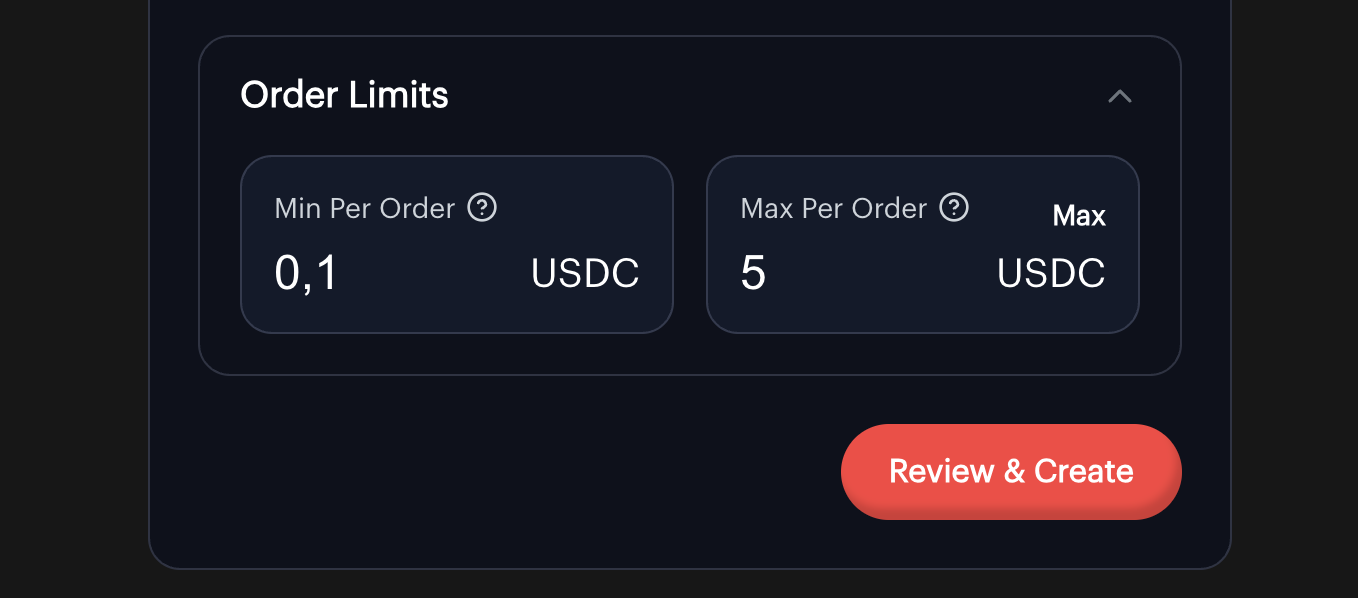
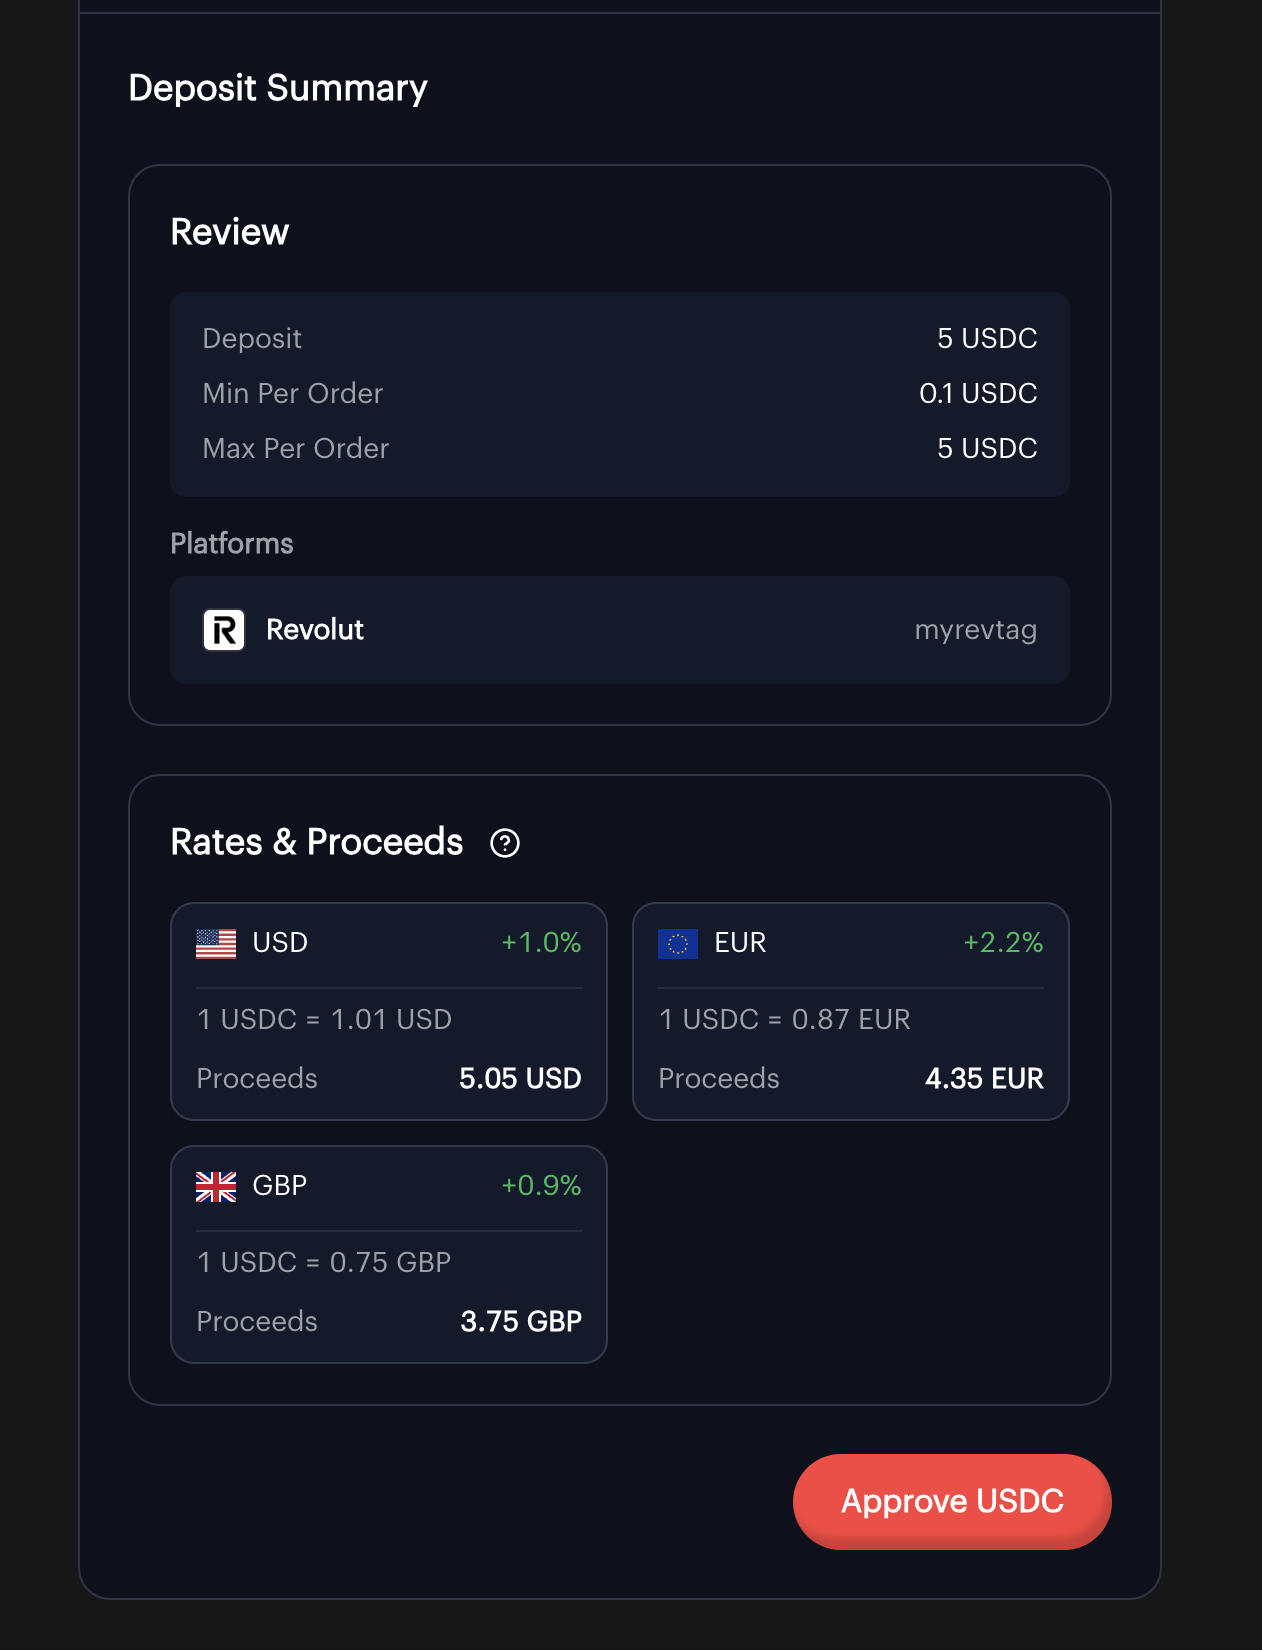
Step 14: Review your details
- Are my tags correct?
- Are my spreads what I expected?
- How what proceeds can I expect from providing liquidity?
If all details are correct you can continue with your transaction!
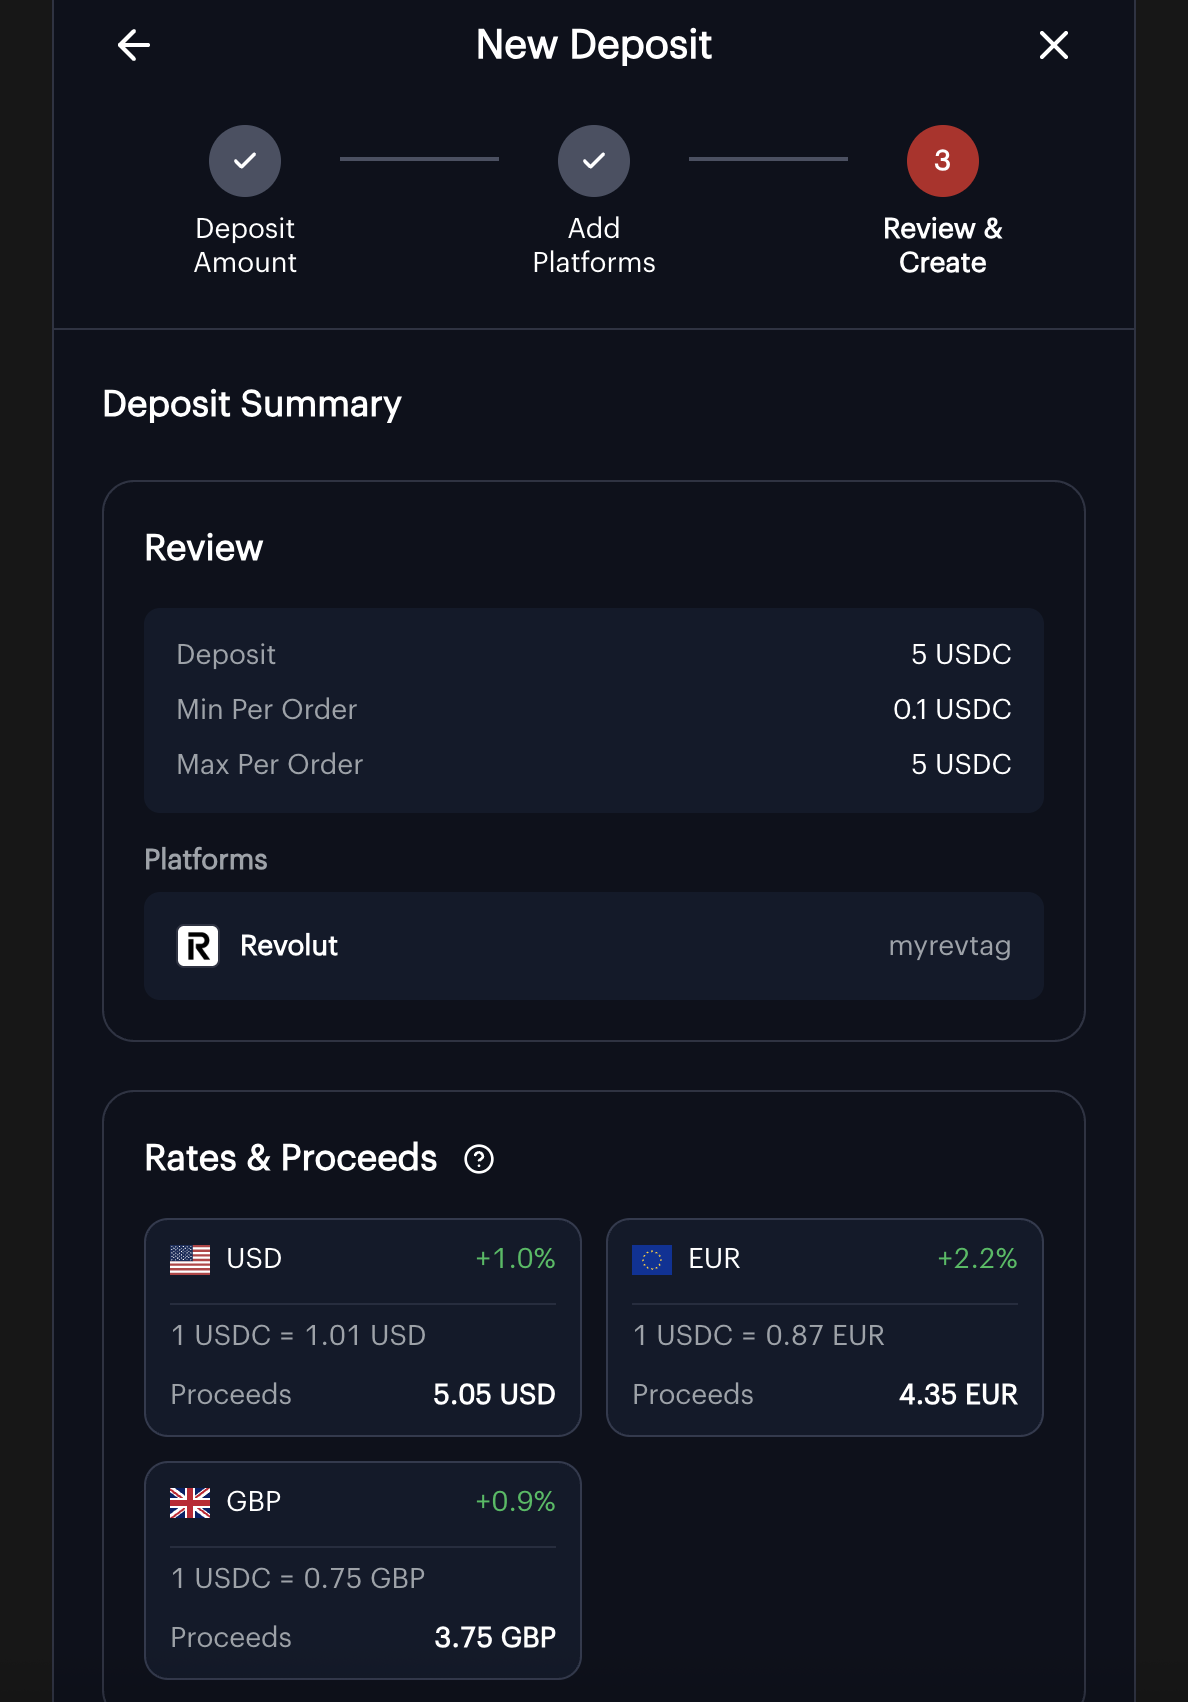
Step 15: Approve & Deposit into Vault
- Click Approve
- After approval, confirm the deposit transaction
- Gas is sponsored if you sign in with Socials
- Wait for confirmation (10–20 seconds)
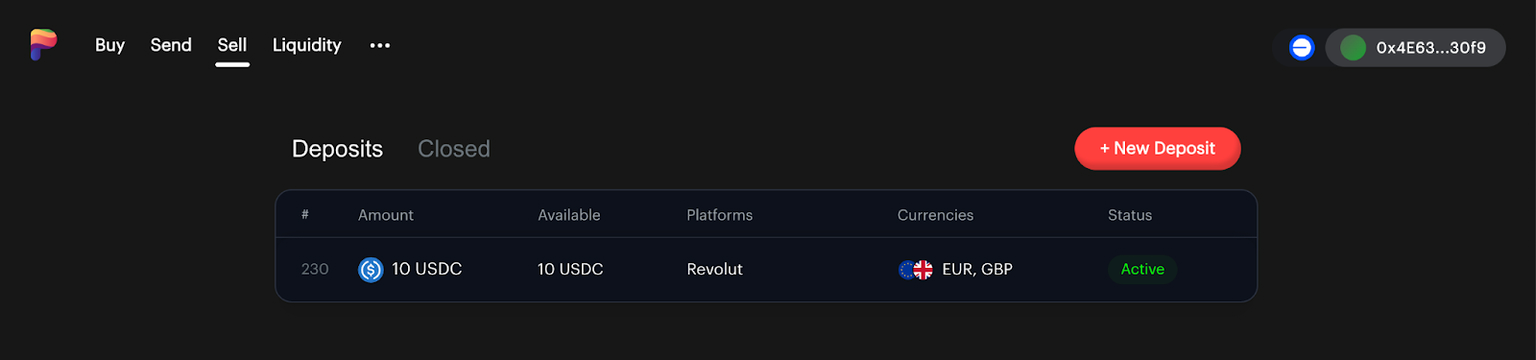
Step 16: Monitor Your Deposit
- Go to the Sell tab
- You’ll see your active deposit showing:
- Total amount
- Remaining balance
- Accepted currencies/platforms
- Current status

💡 Important Tips
Setting Optimal Rates
- Check the Spread column in the Liquidity tab
- Lower spreads (0.5–1%) = faster fills, less profit
- Higher spreads (1–3%) = slower fills, more profit
Security Best Practices
- Start with a small deposit
- Never share your wallet seed phrase
- Always double-check transaction details
- Use separate payment accounts for ZKP2P for clean tracking
Troubleshooting
- Long pending? Check gas — you need ETH on Base
- Deposit not appearing? Refresh or reconnect wallet
- Still stuck? Join ZKP2P Telegram for help
➡️ Next: How to Update USDC Conversion Rates